If you are driving a large truck or bus, reversing or stopping, you may find it difficult to see everything behind your car or vehicle. In this case, when you reverse or stop, you may damage your car or someone else’s car, maybe even hurt in the accident, may hurt your car or some of the people behind the car, which is very common in the driveway and parking space, Our suggestion is that you install a wireless backup camera, so that U can avoid unnecessary trouble of reversing.
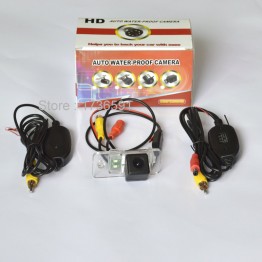
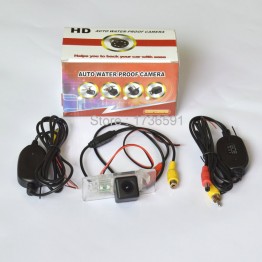
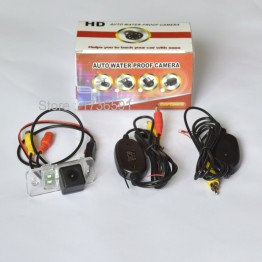
Wireless backup camera installation, you need the following items and they include Kit:
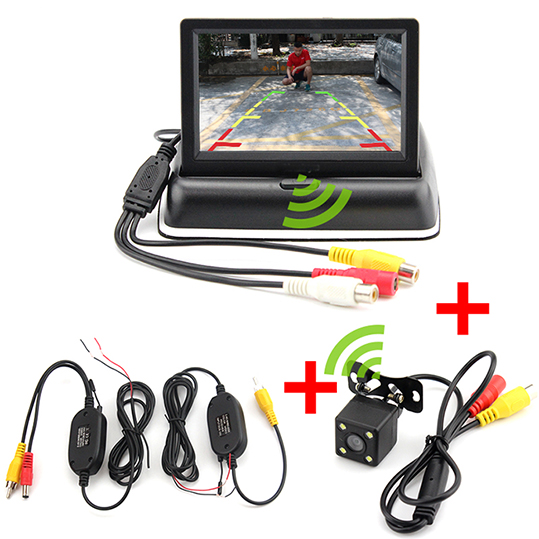
- Wireless RCA video transmitter & receiver kit for car rear view camera
- Wireless RCA video receiver/transmitter; avoid complicated wiring, to be used with in-car monitor, head unit, DVD player and camera, etc
- Receiver/transmitter frequency: 2370MHz
- Av in/out: PAL/NTSC Composite video signal, RCA Jack
- Receiver/transmitter distance: 50m (in jam-free open areas)
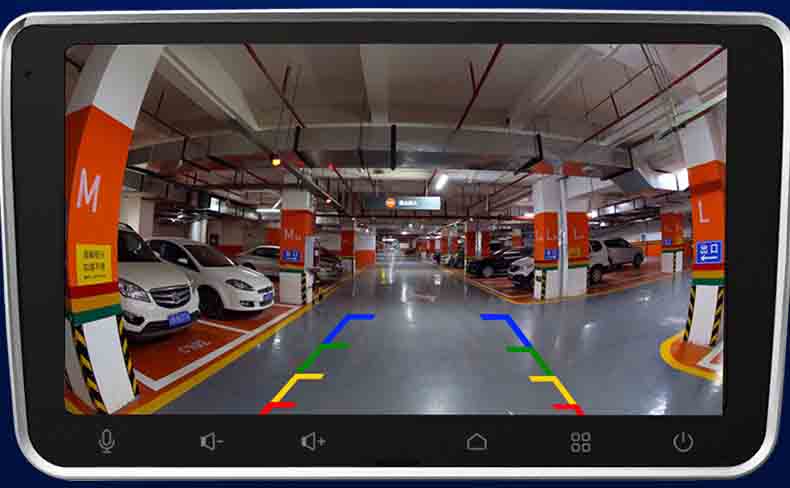
Installing guide for wireless backup camera
Most cameras are equipped with a user’s installation guide. It is recommended that you check the guide before installing the camera. Wireless reverse cameras can be used in various sizes and shapes to meet your personal preferences and preferences. This is the mode you choose to like, but your choice should provide clear coverage and car in the rear.
Installation process
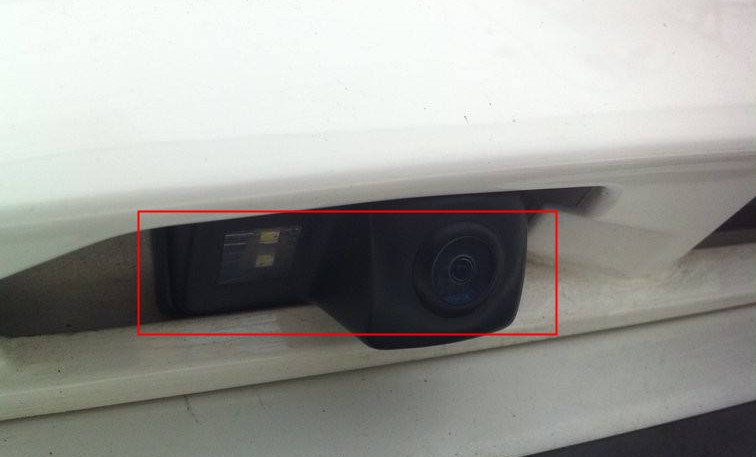
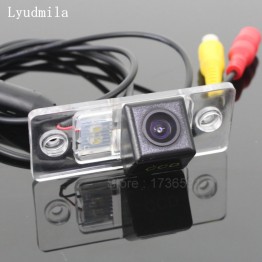
1.You first dismantle the lamp housing above the license plate.Be careful not to damage the connection cable, Backup camera is fixed on License plate lamp, the license plate lamp system of the rear lighting system is the most convenient location after entering the room through the connecting cable.
![]()
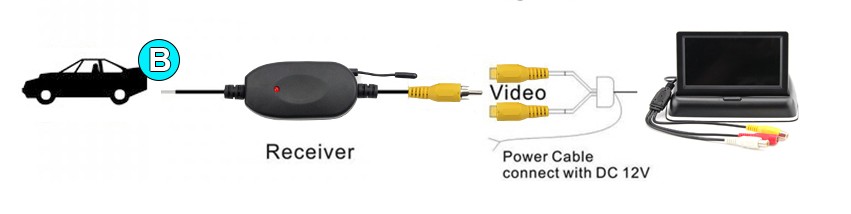
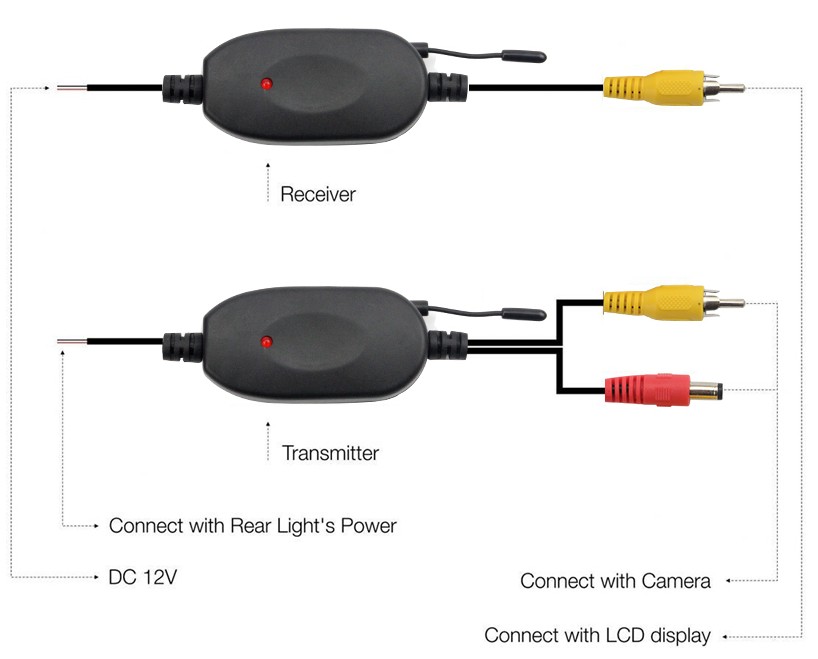
2.Then, the cable of the license plate is removed, and the power and video cable of the transmitter system are connected to the corresponding cable of the wireless camera. Be careful not to exchange positive and negative wires because it can cause serious injury.Attention should be paid to using excessive wiring and using Scotland lock to avoid manual splicing of wires. Then put the rear lamp in the right place.
3.In order to transmit signals effectively, the transmitter should be strategically placed to avoid obstruction of signal transmission. You should ensure that your connection is perfect to avoid any potential short circuits that may damage the entire system.
4.Entering the monitor, once your monitor is connected to the power supply, power is sent from places such as the lighter and the attachment socket, and the receiver is connected by the USB port of the fast sliding T connector.Use the power tester to locate any leakage, which helps prevent battery drain once you do not use the rear wireless camera.
5.After completing the installation, all functions of the camera should be tested, including the test of the camera’s viewing area and the effectiveness of the camera position. This should be completed in the appendix power mode.
The rear wireless kit comes with supporting tools they embrace the wireless camera. A transmitter system that picks signals from the camera, a receiver system that’s placed next to the monitor, vehicle power adapters that ar vital in powering the entire system, adapter cables and a monitor that’s accustomed show pictures from the rear of your automotive.
Some important security tips for adding a Wireless backup camera
Security is good when you are connecting and installing. Most security hints are usually provided in the installation manual.
When you disconnect the cable from the battery, it is important that you leave the battery post. The essence is to make sure that the cable does not touch the battery terminal, and you do not expect it, which may be hazardous to your health.
One of the basic tips you must observe is that the battery cable must be disconnected from the battery. The size of the cable is also important. You can check the manual to determine the optimal spanner size for connection and installation.